The staff at Always Quilting recently discussed using embroidery and quilting frames to display textile work. Embroidery and stitcheries, applique, pieced items and quilting, even a pretty piece of fabric can all be displayed this way. A quick internet search gives you lots of inspiration! Indeed, I was inspired and have since made a couple of items which are displayed in inexpensive embroidery hoops.
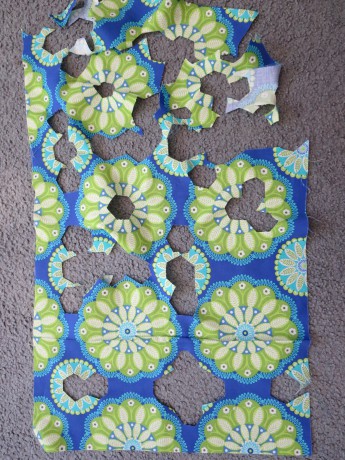
For my first piece, I decided to engage in some English paper piecing and fussy cutting and make a small companion piece for a mini quilt made last year and which I blogged about in a previous post. https://alwaysquilting.wordpress.com/2014/11/28/always-playing…-fussy-cutting/ You might recall that there was not much fabric left, but certainly sufficient for my purpose.
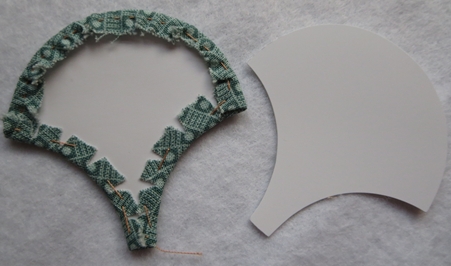
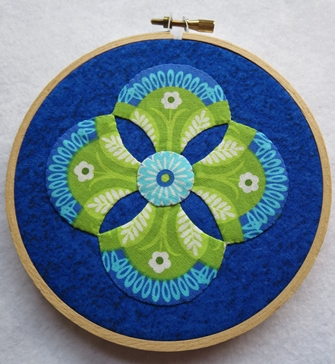
I used 4x 2-inch clamshells and fussy-cut my fabric, with a small circle as the centre. There are many methods of preparing your English paper pieces, from tacking, to glue-basting, to fusible papers. I discuss one method here. https://alwaysquilting.wordpress.com/2013/02/22/english-paper-…agons-and-more/ When using clamshells, I prefer to tack the paper in place as this gives me greatest control over the curve, ensuring it is nice and smooth. When it is tacked into place I give it a good press.
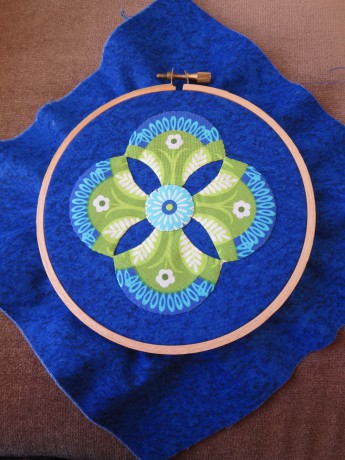
Once I had made my clamshells I appliqued them onto my background fabric using Aurifil Cotton Mako 50. As you can see in the photo, I left plenty of fabric around the edges. I then took my little hoop, in this case 5 inches in diameter, and centred my design in it. When I was happy with its placement I tightened the screw so that the work was tensioned with no wrinkles.
I trimmed the background fabric to a border of about 1 1/2 inches.
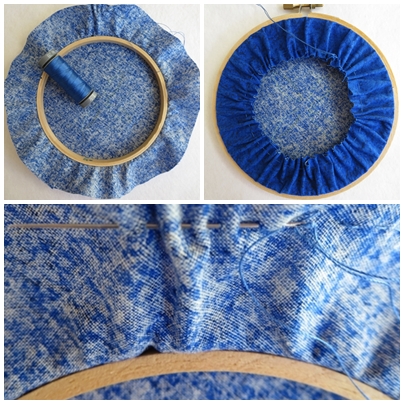
I took a strong thread (Aurifil Cotton Mako 28) and ran a gathering stitch around the perimeter. To make this job easier I did not cut my thread off the spool, but used it directly from the spool. This way could adjust it as required, and I didn’t run the risk of miscalculating the length of cotton I needed, or of accidentally pulling the gathers out. When I had the gathers sitting as I wanted, I cut the threads leaving a tail, then tied them in a reef knot to secure them.
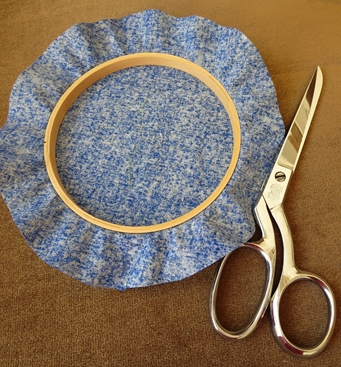
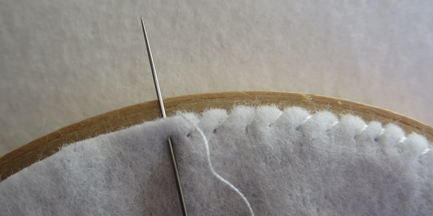
To cover the back of the hoop I cut a circle of felt, using the hoop as a template for the circle. I wanted the felt to fit just to the edge of the blue background fabric, but inside hoop. Finally I stitched the felt in place again using a strong thread, Aurifil Cotton Mako 28. I used an overstitch going from the felt out towards the edge of the hoop as shown in the photo, and I ensured that each bite into the felt was about 3mm and went into the blue background fabric each time.
And my little project is finished and ready to hang on the wall!
In a future post, I will write about another project framed in this way.

Thanks for the great instructions. I will follow them and try and make a Hoopla myself 🙂
LikeLike
I’m looking forward to seeing it!
LikeLike
This is gorgeous! Thank you very much for sharing your techniques in such detail. I’ve always like embroidery hoops as frames, but alas, have not yet made anything small enough to warrant one.
LikeLike
Thank you! It’s fun to make a small project in between all the big ones.
LikeLiked by 1 person
I like to have small projects on the go every now again too. Not having to wait months for the “wow! I’ve finished this” moment is nice.
LikeLike
Exactly!
LikeLiked by 1 person
I really like your backing idea. Looks very neat and professional, easy to do as well. Thank you for sharing.
LikeLike
Thanks for commenting. It does finish off the project in a neat way and provides a soft backing against your wall.
LikeLike
Pingback: Hoopla 2 | Always Playing with Aurifil Thread